Hung's Foundation Experiences
Tuesday, November 13, 2018
Finals: Setback
So some of our panels were destroyed because of multiples accidents. Therefore, we were forced make some of the smaller panels over and hang them again.
Finals: Frame Set-up
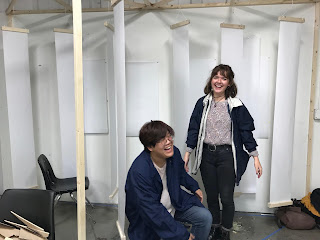
We started assembling the frame in studio by screwing the frame into the wall. We also started hanging up the panels using nylon ropes.
Final: Wood Shop
We went to the work shop to use the tools to cut the wood and assemble our frame. We used the miter saw to cut the 8 feet 2x2 wood into 20in pieces and 10in pieces. We then placed it through the plainer to create sharp 90 degree angles. We created 8 20 in panels and 16 20in panels. We then split it in half. We then sanded the wood panels to remove any markings and splinters. We assembled the top portion of the frame using a nail gun and screw driver. We also cut braces out of plywood using the band saw to add more structure to the frame.
Final: Panel Macket
We created mackets of the panels to experience with the shadows and lighting. We also wanted to test how big the panels should be.
Saturday, November 3, 2018
Final: Prototype 2
For the second prototype we wanted to keep the same feeling of floating in time, however we also wanted to experiment with different frameworks. We settled on a triangle since it can be very flexible on where it is placed. We could either place it in a corner or against a wall with the point sticking out to create more dynamic. We then experimented with the density of the piece again and settled on making only 2 sizes of the panels rather than multiple.
Subscribe to:
Comments (Atom)


